
Last updated October 17, 2026
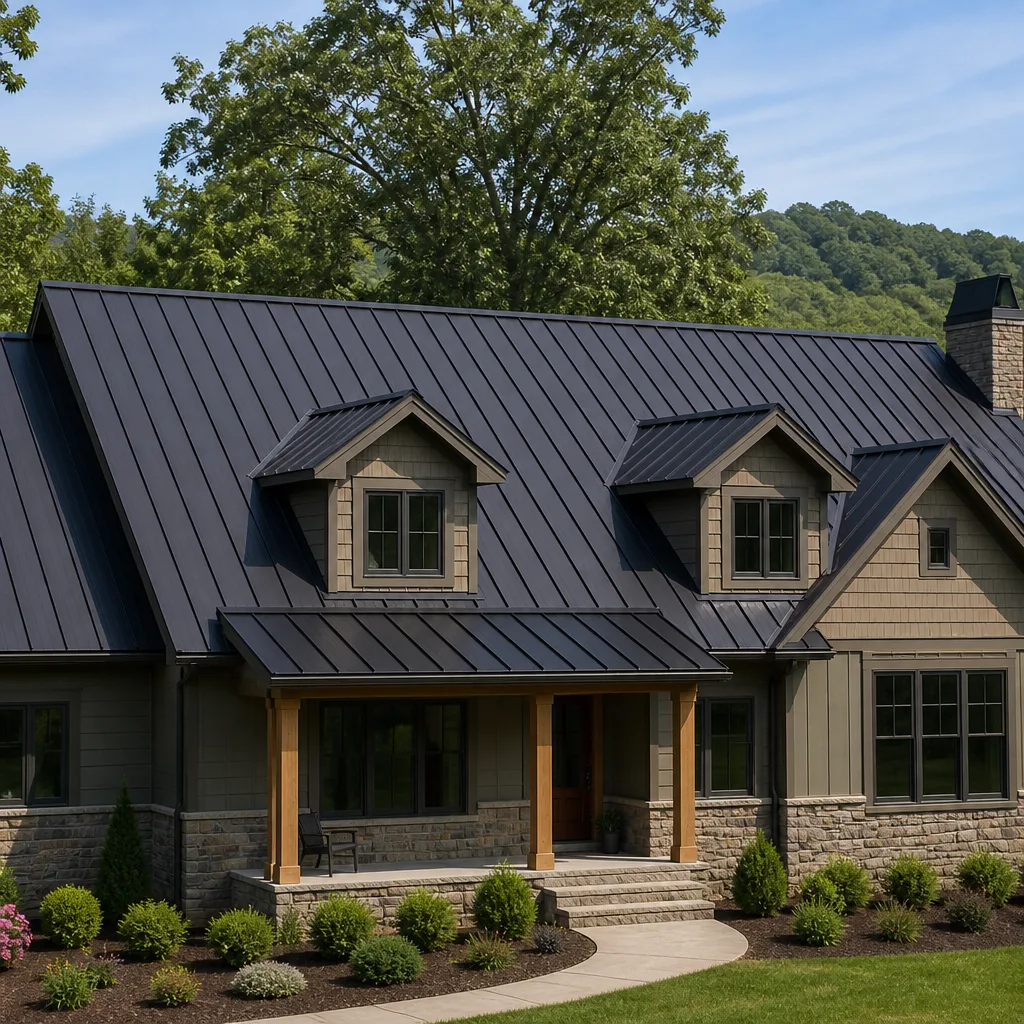 Metal roofing
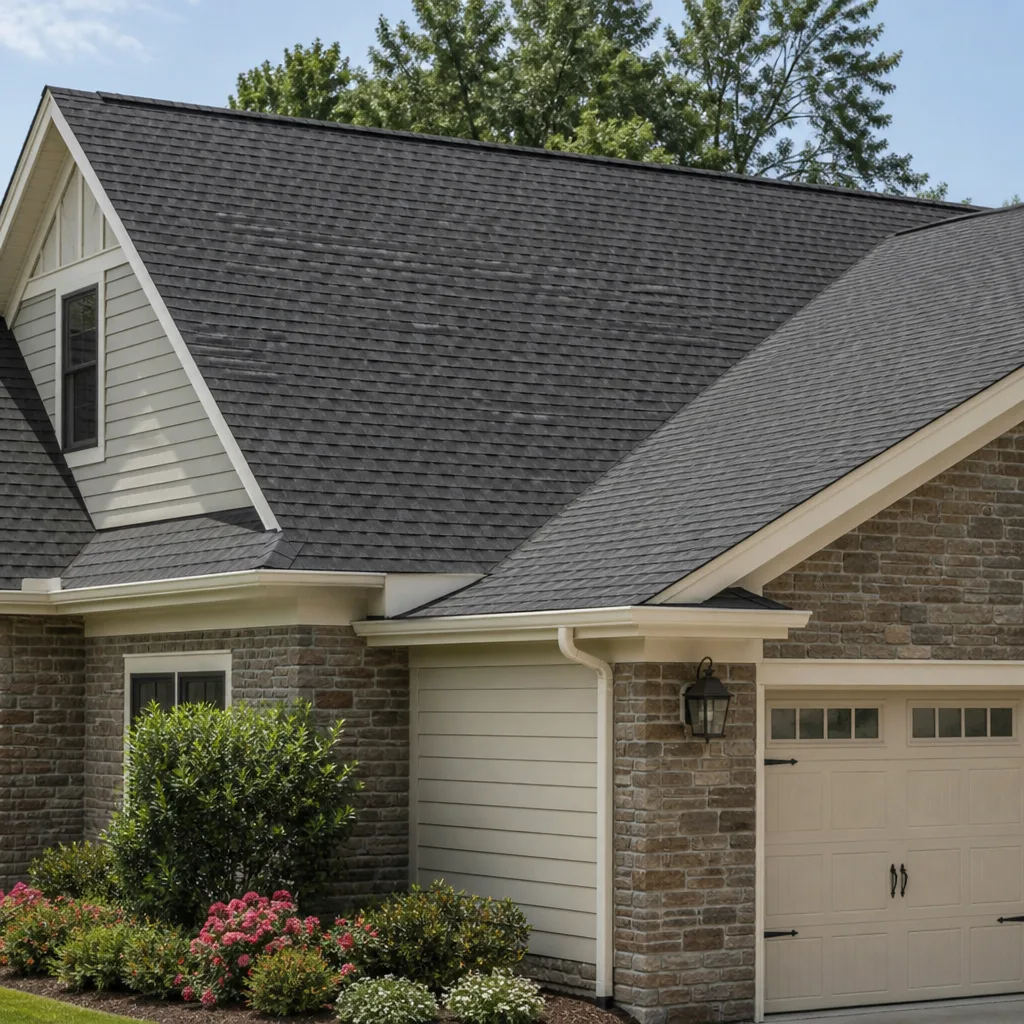 Architectural shingles
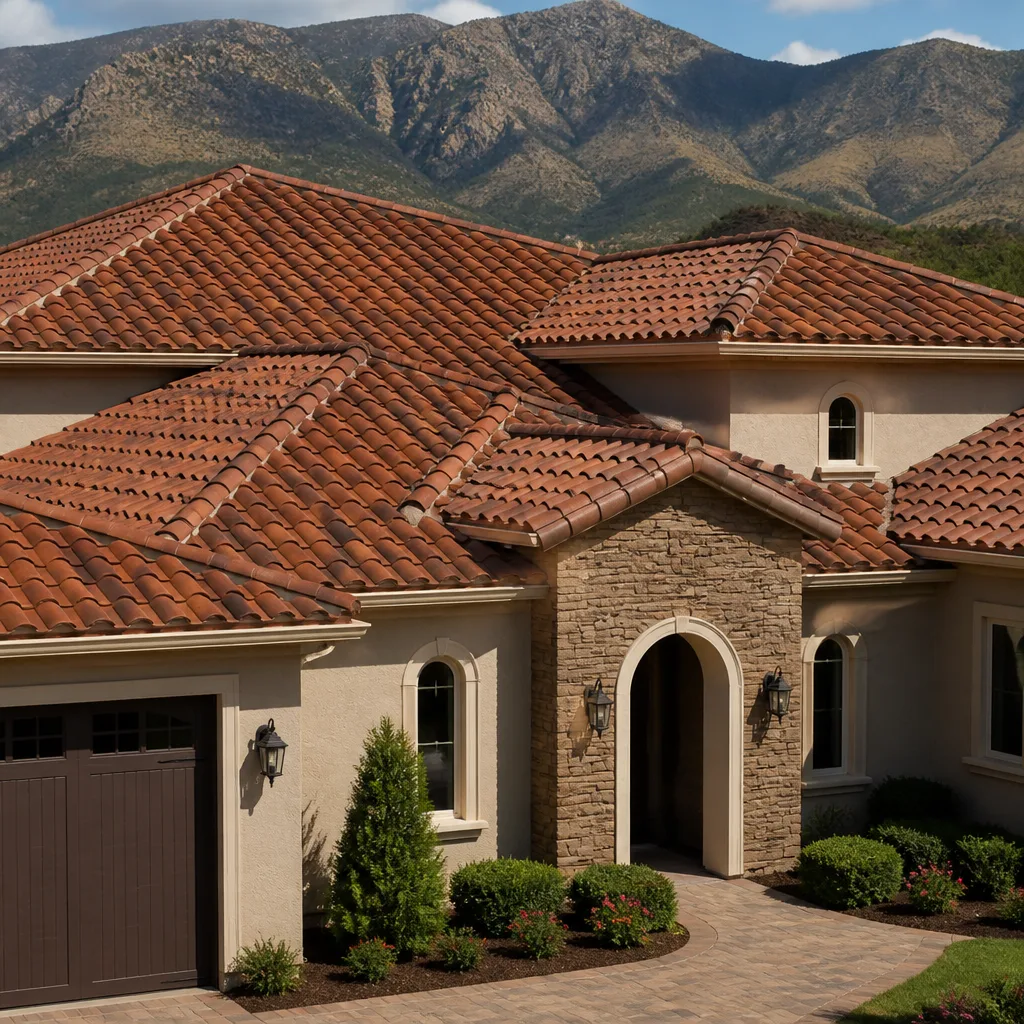 Tile roofing
 GAF
GAF Owens Corning
 Flat & low-slope
Free roof inspection with deck photos before we talk money - GAF and Owens Corning certified installation
Roofing Warning Signs: A Austin Homeowner’s Reference Guide
The warning sign Austin homeowners most consistently miss isn’t on the roof at all. It’s a faint waterline stain on the drywall beside a second-floor window, which almost always traces back to failed step flashing at a sidewall junction, not the window itself. Most roofing guides show you dramatic photos of collapsed ridgelines and missing shingle fields, but our Complete Guide to Roofing in Austin covers the subtle signs too. But the signs that cost Austin homeowners the most money are subtle, interior, and easy to misread as something else entirely. This guide trains your eye on the early signals that show up inside your attic and on your walls before they ever show up on your shingles. We’ll walk through what to check, what it means, what it costs, and when to call someone who does this every day.
Quick Answer
The most reliable early warning signs of roof trouble in Austin show up inside your attic and on your upstairs ceilings, not on the shingles themselves. Look for daylight through the roof deck, water staining on insulation, discolored rafters, and soft or sagging decking. Exterior signs like granule buildup in gutters, cupped shingles, and rust streaking around flashing confirm what the interior is already telling you. If you catch these before a full leak develops, most asphalt-shingle repairs in Austin run $350 – $750 instead of $1,500 – $3,000 for water damage remediation plus roofing work.
Styles & brands we work with
Table of Contents
- The Interior Attic Checklist: What Your Attic Tells You Before Rain Does
- Roof Leak, HVAC Condensation, or Plumbing Vent? The Three Misdiagnoses That Cost Austin Homeowners Real Money
- Exterior Signs Specific to Austin’s Climate: Granules, Cupping, and Blistering
- Why a Sagging Ridge Line in Austin Is Almost Never Just an Old Roof
- Flashing Warning Signs You Can’t See from the Ground: The Phone Camera Method
- What a Repair Actually Costs in Austin, and What Your Material Options Look Like
- The Guarantee Question: What Should Be in Writing Before Anyone Climbs a Ladder
The Interior Attic Checklist: What Your Attic Tells You Before Rain Does
Your attic is the single most honest diagnostic tool you own. Shingles hide problems. Paint hides problems. But the underside of your roof deck, the rafters, and the insulation tell the truth, because water and heat damage work from the inside out. We recommend checking your attic twice a year in Austin, once in late September before the fall rain pattern settles in, and once in March after the winter damp season ends, which aligns with the schedule in our Seasonal Roofing Care for Austin: Year-Round Homeowner’s Guide. Bring a flashlight with fresh batteries and your phone camera. Here’s the checklist, in order of severity.
- Daylight penetration through the roof deck. Turn off the attic light and let your eyes adjust for 60 seconds. Any pinprick, sliver, or seam of daylight means a hole. Holes mean water entry points. This is the earliest and most unambiguous sign, and it’s free to check. Even gaps the size of a pencil eraser will channel water during an Austin thunderstorm, because our rain comes in short, wind-driven bursts, not gentle all-day soakers.
- Insulation staining. Look at the top surface of your insulation batts or blown-in fill. Water leaves a trail: darker, crusty, or matted patches where moisture wicked through and evaporated. Brown or rust-colored rings are older. Dark, damp spots are active. The stain’s location tells you where to look on the roof above, which cuts the diagnostic time dramatically.
- Rafter discoloration. Rafters should be the color of clean lumber: pale tan or gray. Black streaking, white powdery film, or dark amber stains mean repeated wetting. White powder is efflorescence, minerals left behind by evaporating water. Black streaks are often mildew or mold growth. Neither means the rafter is structurally compromised, but both mean water has been present long enough to matter.
- Decking softness. Press a flat palm against the plywood or OSB decking between rafters, especially below valleys, around vents, and near chimneys. Sound decking feels rock-solid. Rotted decking has give, or feels spongy, or flakes at the edges. If you can push a key into it without much force, that section needs replacement, and that’s a repair, not a patch job.
- Fastener corrosion and backing stains. Look at the nails or screws poking through the decking. Rusty fasteners with dark rings around them mean moisture has been wicking along the metal. That’s a capillary pathway, and it will keep moving water even after the visible hole gets sealed.
One Austin-specific note: our summer attic temperatures regularly exceed 140°F. That heat bakes moisture out of wood fast, so stains can appear faint and old even when the leak is recent. The heat also accelerates nail pops, which create gaps where fasteners have pulled loose. If you see nail heads protruding above the decking surface by even a quarter inch, that’s a movement point and a water entry point. No checklist replaces a trained inspection, but this one will catch problems early enough to keep repairs small. If you find anything you’re not sure about, roof repair in Austin starts with a written price, so you’ll know the exact cost before any work begins.
Roof Leak, HVAC Condensation, or Plumbing Vent? The Three Misdiagnoses That Cost Austin Homeowners Real Money
Here’s a scenario we hear constantly: a homeowner sees a water stain on an upstairs ceiling, calls a roofer, pays for a roof repair, and the stain comes back. Then they call an HVAC company, pay for a condensate line flush, and the stain still comes back. Then a plumber repacks a vent boot, and it finally stops. That’s three service calls and three invoices for one problem that a better diagnostic process could have solved on the first visit.
The three most common sources of upstairs ceiling stains in Austin are roof leaks, HVAC condensation overflow, and plumbing vent boot failures. Each leaves a distinct fingerprint. Here’s how to tell them apart before you pay anyone.
Roof leaks
Roof leaks are weather-dependent. The stain grows after rain, stays wet for a day or two, then dries. It’s typically brown or rust-colored, ringed, and expands outward from the highest point of the ceiling plane. Roof leaks also tend to appear below valleys, roof penetrations, chimneys, sidewall junctions, and skylights. If two separate storms produced two separate new stain edges, it’s almost certainly roof water.
HVAC condensation
Condensation leaks are weather-independent and often worse in summer, because Austin’s humidity pushes your air conditioner harder. The stain is usually on a ceiling directly below an attic-mounted air handler or along the path of a condensate drain line. It’s often lighter in color, more diffuse, and continuous rather than episodic. If the stain grows during a dry week in July with the AC running constantly, you’re looking at an HVAC problem, not a roof problem.
Plumbing vent boot failures
Plumbing vent boots are the rubber gaskets that seal the pipe where it exits through the roof. In Austin’s UV intensity, these boots crack and shrink faster than in milder climates. The failure pattern is distinctive: a stain that rings the ceiling directly below the vent pipe, or wicks down the wall beside it. Vent boot leaks respond to rain, which is why they get misdiagnosed as roof leaks. But the stain is localized around a pipe location, not broad across a ceiling plane.
The fastest diagnostic tool is a simple timeline: when does the stain grow? If only after rain, it’s roof or vent boot. If continuous or worst during dry heat, it’s HVAC. If it rings a single pipe, it’s the boot. Get the right trade on the right problem and you’ll spend one invoice instead of three. When the answer is the roof, Tilehurst Roofing Austin home inspections start with the same written-price approach we use on every job.
Exterior Signs Specific to Austin’s Climate: Granules, Cupping, and Blistering
Austin’s climate punishes roofs in a specific sequence: brutal UV summers, followed by sudden downpours, followed by weeks of high humidity, then occasional freeze cycles in winter. That sequence leaves a signature on asphalt shingles that looks different from what homeowners see in coastal or northern climates. Learning to read the signature will tell you what’s happening and whether the fix is cosmetic or structural.
Granule accumulation in gutters
Every asphalt shingle sheds granules as it ages. A small amount of granules in your gutters every year is normal, because shingles lose granules during installation, during hailstorms, and during the first year of settling. The warning sign is volume and timing. After an Austin summer, granule accumulation that looks like a thick black sandbar along the bottom of every gutter seam is accelerated UV degradation. The asphalt binder has been baked brittle, and the ceramic granules, which protect the asphalt from UV, are releasing. You’re watching the shingle’s protective layer wash away. Once bare asphalt patches start appearing as dark streaks on the shingle surfaces, the shingles are living on borrowed time.
Manufacturers like GAF and Atlas build their architectural lines to hold granules longer under intense UV, because they engineer specifically for sunbelt climates. But no asphalt shingle is UV-immune. If you’re seeing heavy granule loss at year 10 or 12, the roof is telling you it’s entering its final third of life, and repairs become less cost-effective than planning for replacement.
Shingle cupping
Cupping is the most common shingle distortion in Austin. The edges of the shingle curl upward, forming a shallow bowl or cup shape. The cause is almost always heat plus trapped moisture in the shingle mat. Austin’s daily summer temperature swings, very hot roof decks by 3 p.m., cooler overnight air, and high humidity create condensation inside the shingle itself. The shingle mat absorbs moisture, the top layer dries faster than the bottom layer, and the uneven shrinkage pulls the edges up. Once cupped, a shingle catches wind more easily, cracks more easily, and can’t lie flat to shed water. Cupped shingles are a warning sign that the roof is aging unevenly across the field.
Shingle blistering
Blistering looks like tiny bubbles or pimples on the shingle surface. In Austin, blisters come from two causes: trapped moisture flashing to steam during the first brutal summer heat, or volatile compounds in the asphalt expanding under extreme deck heat. Blisters that pop leave small craters that collect water and hold it against the asphalt. Blistering is a manufacturing and installation-adjacent defect, not normal aging, and it’s more common on poorly ventilated attic assemblies, which is another reason attic exhaust ventilation matters in Austin’s heat. If you see blistering across a roof that’s less than 10 years old, document it, because manufacturer warranty coverage may apply. Shingle brands like Tamko and Boral publish specific blistering criteria for warranty claims, and a roofer who knows the standards can help you file correctly.
Cupping tells you the roof is aging. Blistering tells you heat and moisture are trapped. Granule loss tells you the UV clock is running out. Together, the three signs tell a complete Austin story, and none of it resolves on its own. The fix depends on the cause, and the cause determines whether you’re paying for a spot repair or a full roof replacement in Austin.
Why a Sagging Ridge Line in Austin Is Almost Never Just an Old Roof
Stand across the street and sight down your ridge line. A healthy ridge is a straight, crisp line from end to end. If you see a dip, a sway, or a soft curve, you’re looking at the most underrated structural warning sign in residential roofing. Most homeowners assume a sagging ridge means the roof is old and tired. In Austin, a sagging ridge almost always means something more specific, and a shingle replacement alone won’t fix it.
The ridge is the roof’s spine. It carries the rafter load, ties the two roof planes together, and transfers force down into the exterior walls. A sagging ridge means force isn’t transferring properly. The usual causes are:
- Undersized ridge board. Older Austin homes, especially ranch-style homes built before the 1990s, often have ridge boards that were framed to code minimums for much lighter shingle loads. When a homeowner later adds a second layer of shingles, the added dead load starts deflecting the ridge.
- Collar tie or rafter tie failure. The horizontal members that keep rafters from spreading under load are often notched, nailed, or toe-nailed with hardware that rusts and loosens over decades. Once ties fail, the rafters push outward and the ridge drops.
- Decking rot at the ridge junction. Water that gets under the ridge cap wets the top courses of decking. Over years, the decking softens, loses its shear strength, and allows the ridge to sag locally. We see this pattern often in Austin neighborhoods with mature oak canopies, because leaf litter holds moisture against ridge lines.
- Broken rafter ends from wind uplift. Austin’s thunderstorm microbursts deliver short, violent uplift forces. Rafter ends that weren’t properly fastened to the top plate will crack or pull loose. The ridge drops on that side.
The diagnostic step is simple: don’t ignore the sag. A shingle replacement over a sagging ridge is makeup on a structural problem. The decking needs to come up at the ridge, the framing needs to be inspected, and the correction may involve sistering rafters, adding ties, replacing decking, or addressing all three. That work is done under the same roof replacement umbrella, and it’s exactly the kind of thing that should be documented in a written scope before the job starts. If you sight-line a sag, get it checked. The repair is far cheaper while the decking is still sound than after a section fails during the next storm season.
Flashing Warning Signs You Can’t See from the Ground: The Phone Camera Method
Flashing is the metal that seals the roof’s joints: where the roof meets a wall, a chimney, a skylight, a vent pipe, or a valley. Flashing failures cause a disproportionately large share of Austin roof leaks because our rain arrives in short, wind-driven bursts that push water sideways into joints, the exact water path flashing exists to block. Here’s the problem: flashing failures are mostly invisible from the ground. The metal lifts by a quarter inch. The sealant cracks in a hairline pattern. The rust streaks begin behind a parapet wall. You can’t see any of it from the driveway. But you can see it with your phone camera.
The method is simple and costs nothing. Wait for an overcast day, which Austin gets plenty of in spring. Harsh sunlight creates glare on metal that washes out detail. Overcast light diffuses evenly, and the camera’s sensor picks up texture that your eye misses. Stand at the base of each roof penetration and shoot upward at a 45-degree angle, using zoom instead of moving closer. Then review the photos enlarged on a tablet or desktop screen, not on the phone.
What to look for in the photos:
- Lifted metal edges. Flashing should lie flat against the roof plane and the sidewall. A lifted edge catches wind and creates a scoop that channels water behind the flashing. On camera, a lifted edge shows a shadow line along its full length.
- Rust streaking. Galvanized steel flashing rusts eventually. Rust streaks running down from a flashing junction mean the protective zinc layer has failed and water is carrying corrosion product, which means water is moving through the joint.
- Sealant separation. The caulk or sealant bead between flashing and chimney brick or sidewall siding cracks as it ages. In photos, look for a dark gap line, flaking edges, or a bead that has pulled away from one surface cleanly.
- Step flashing displaced. At sidewall junctions, step flashing pieces are individual L-shaped metal plates, each one slipped under a shingle and against the wall. A displaced step flashing looks like a staircase with a missing step. One out-of-place piece is enough to leak.
- Nail pops adjacent to flashing. If the shingle fastener near a flashing seam has popped through the shingle surface, water has an entry point directly beside the metal. It will work behind the flashing and stain the wall below.
The phone camera method won’t replace a professional inspection, but it will tell you when to make the call before water damage tells you first. When the photos show lifted metal, rust streaking, or sealant separation, it’s time to call. A flashing repair is one of the most affordable roofing fixes available, far cheaper than the drywall repair, repainting, and insulation replacement that follow a flashing leak that’s left alone. Ask for a roofing company in Austin that documents flashing conditions with photos as part of the estimate, so you can see what they’re seeing.
What a Repair Actually Costs in Austin, and What Your Material Options Look Like
Before you pick up the phone, you should know what the numbers look like. Austin roofing repair pricing runs in predictable bands based on the scope of the failure. Here’s what we quote most often in this market.
| Repair Type | Typical Austin Price Range | What It Usually Includes |
|---|---|---|
| Flashing repair (pipe boot, chimney, sidewall) | $250 – $550 | Remove old flashing, reset new metal, sealant, fastener check |
| Shingle replacement (single area, under 10 shingles) | $200 – $450 | Lift damaged shingles, replace with matching material, seal |
| Decking patch (rotted section, under one 4×8 sheet) | $450 – $900 | Remove shingles, cut out rotted decking, install new plywood, reshingle |
| Valley rebuild (open metal valley replacement) | $600 – $1,200 | Remove old valley metal, install new flashing, seal both planes |
| Ridge vent repair or replacement | $400 – $800 | Remove old vent, install new vent profile, seal fasteners |
| Structural ridge correction (sagging ridge, rafter work) | $1,800 – $4,500 | Open decking at ridge, sister rafters, add ties, replace decking |
These are honest Austin market ranges, not teaser numbers. The final price depends on roof pitch, accessibility, decking condition once the shingles come up, and material choice. That last point matters more than most homeowners expect. You’re not locked into replacing a repair with whatever the roofer happens to carry. GAF, CertainTeed, Owens Corning, IKO, Atlas, Tamko, and Boral all make architectural shingles and related materials with different performance profiles, colors, and warranty structures. A correct repair uses materials that match the existing roof or improve on it, and you should know which manufacturer’s product is going on your roof before the crew arrives.
The written-price rule applies to every number above. In fact, the repair price you’re quoted should be in writing before any work starts. No verbal range. No “it depends once we open it up.” The decking condition is the one unknown variable, and a good roofer will price the known work and state clearly what happens if decking replacement is needed once the shingles are off. You should never be surprised at the end.
The Guarantee Question: What Should Be in Writing Before Anyone Climbs a Ladder
Here’s the part most roofing guides skip: the guarantee. Austin homeowners who’ve been burned before, and that’s a lot of homeowners, already know the pattern. The repair gets done. It fails a month later. The roofer doesn’t answer. The homeowner pays again. The guarantee is the only thing that breaks that pattern, and it only counts if it’s written.
A written guarantee on a roof repair should cover three things, and you should read all three before the crew leaves your driveway.
- The scope. Exactly what was repaired: flashing at the sidewall junction, shingles on the north plane, decking patch at the vent pipe. If it’s not written, it wasn’t repaired.
- The duration. How long the guarantee runs. Not “we stand behind our work.” A number: one year, two years, five years. Ours is a full year, documented, under what we call the 365-Day Done Right Promise.
- The remedy. What happens if the repair fails during the guarantee period. Specifically, does the roofer return to correct it at no charge? That’s the entire point of the guarantee. A guarantee that excludes the remedy is a paragraph of nothing.
The guarantee should also be delivered before the crew leaves, not mailed later. If the paper isn’t in your hand when the truck pulls away, assume it won’t be. Ask for it. A roofer who won’t put the guarantee in writing before leaving won’t be easier to reach by phone next month.
Every Tilehurst Roofing repair follows this pattern, because it’s how the Kingswell family of roofing companies has operated since 2000. The written price comes before the work. The written guarantee comes before the crew leaves. If the repair fails inside the guarantee period, the crew returns at no charge. No phone tag. No negotiation. No interpretation. The paper says what it says, and the paper is the promise.
Common Mistakes to Avoid
- Waiting for the shingle to fall off. By the time a shingle is visibly missing from the ground, water has already been working on the underlayment and decking for months. The repair is now bigger and pricier than it would have been at the first interior sign.
- Repainting over a ceiling stain without finding the source. The stain will come back, and the second repair will be more expensive because the drywall now has two layers of damage. Find the water entry point first, then repaint.
- Ignoring granule buildup as “normal shed.” Some granule loss is normal. A thick sandbar in the gutter after each Austin summer is not. Document the volume. It’s the earliest exterior sign of accelerated UV death.
- Assuming a sagging ridge is just an old roof. A sagging ridge is a structural flag. A shingle replacement over an unsupported ridge is money spent on a problem the new shingles can’t fix.
- Calling an HVAC company for a rain-linked stain. If the stain grows only after storms, the roof or a vent boot is the likely culprit. Calling the wrong trade wastes a service call fee and delays the real fix.
- Taking a verbal quote without a written price. The moment a roofer quotes a price out loud and won’t write it down, you’ve got uncertainty. The price should be in your hands before the work starts, every time.
- Skipping the attic inspection because the roof looks fine from the street. The street view shows you maybe 20% of the failure surface. The attic shows you the other 80%. Check the inside first.
See the difference
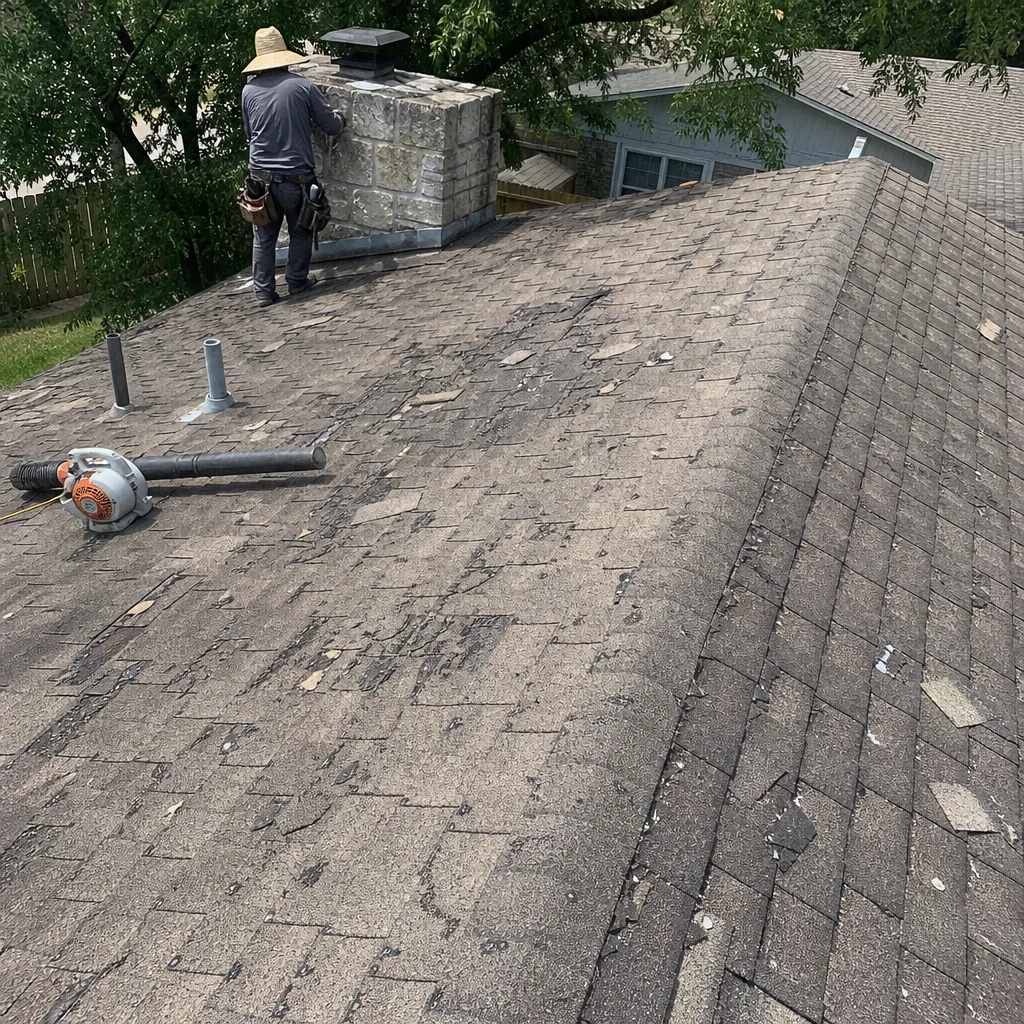 Before
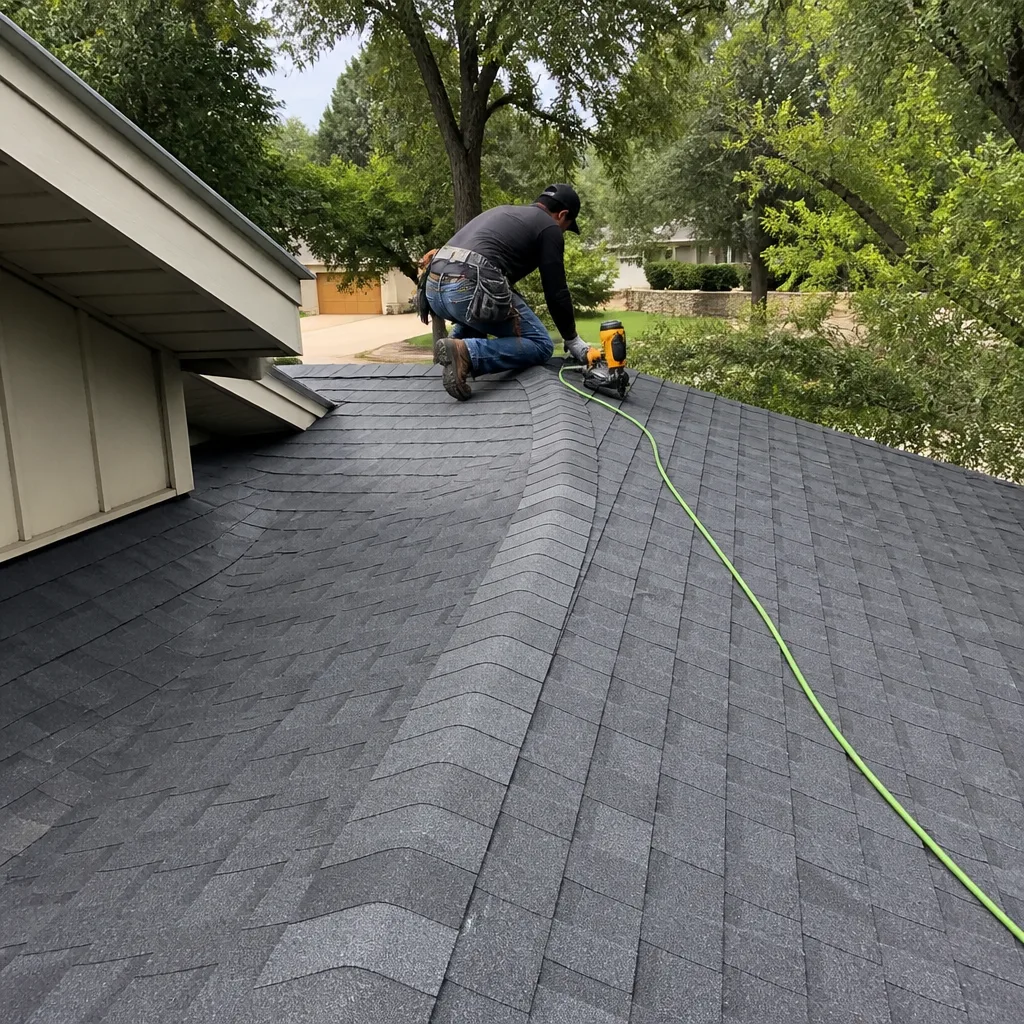 After
After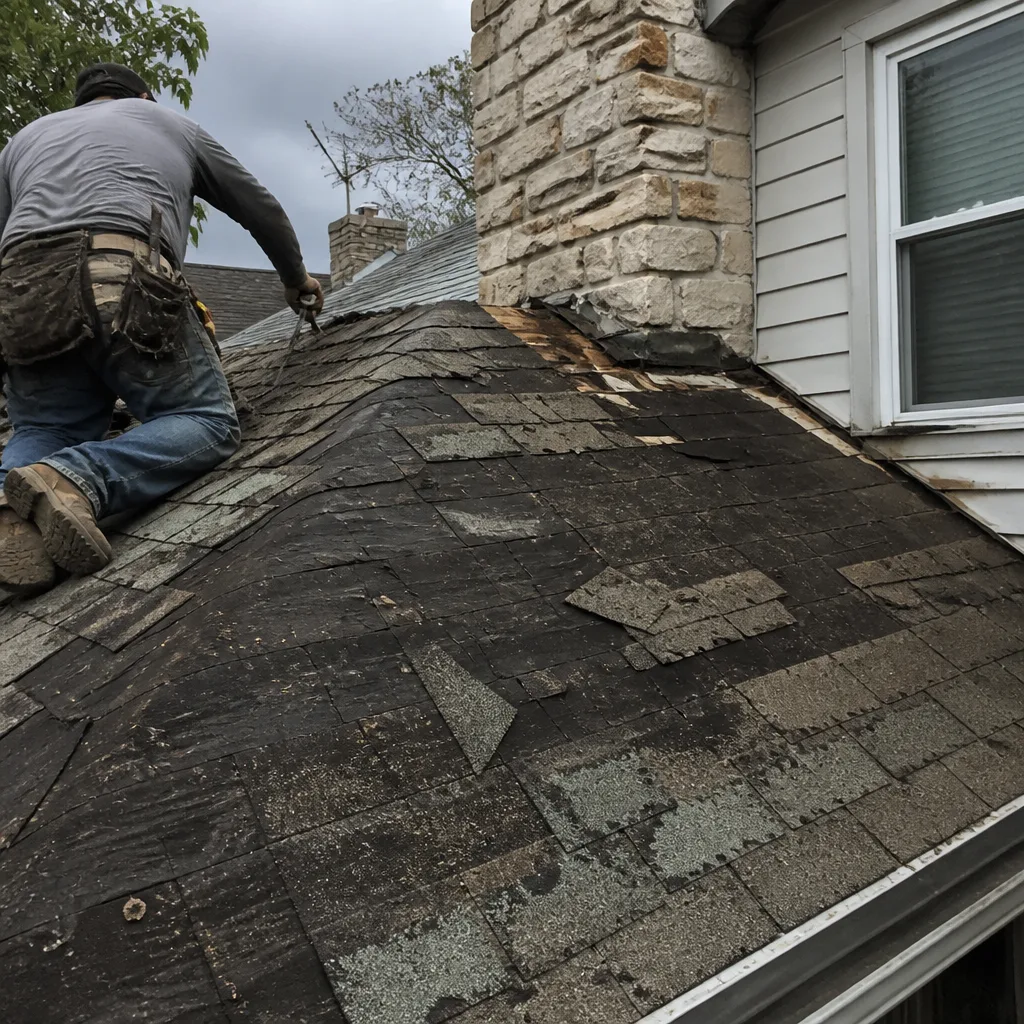 Before
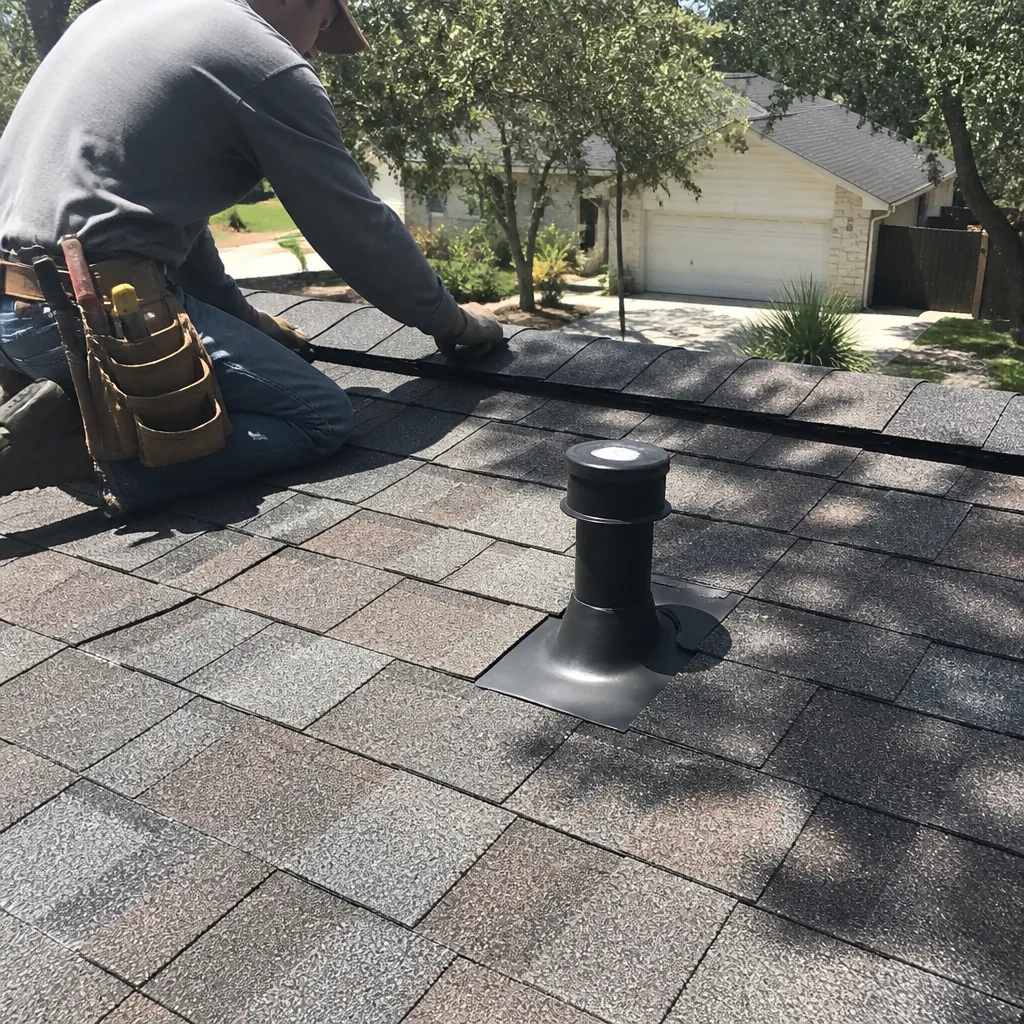 After
After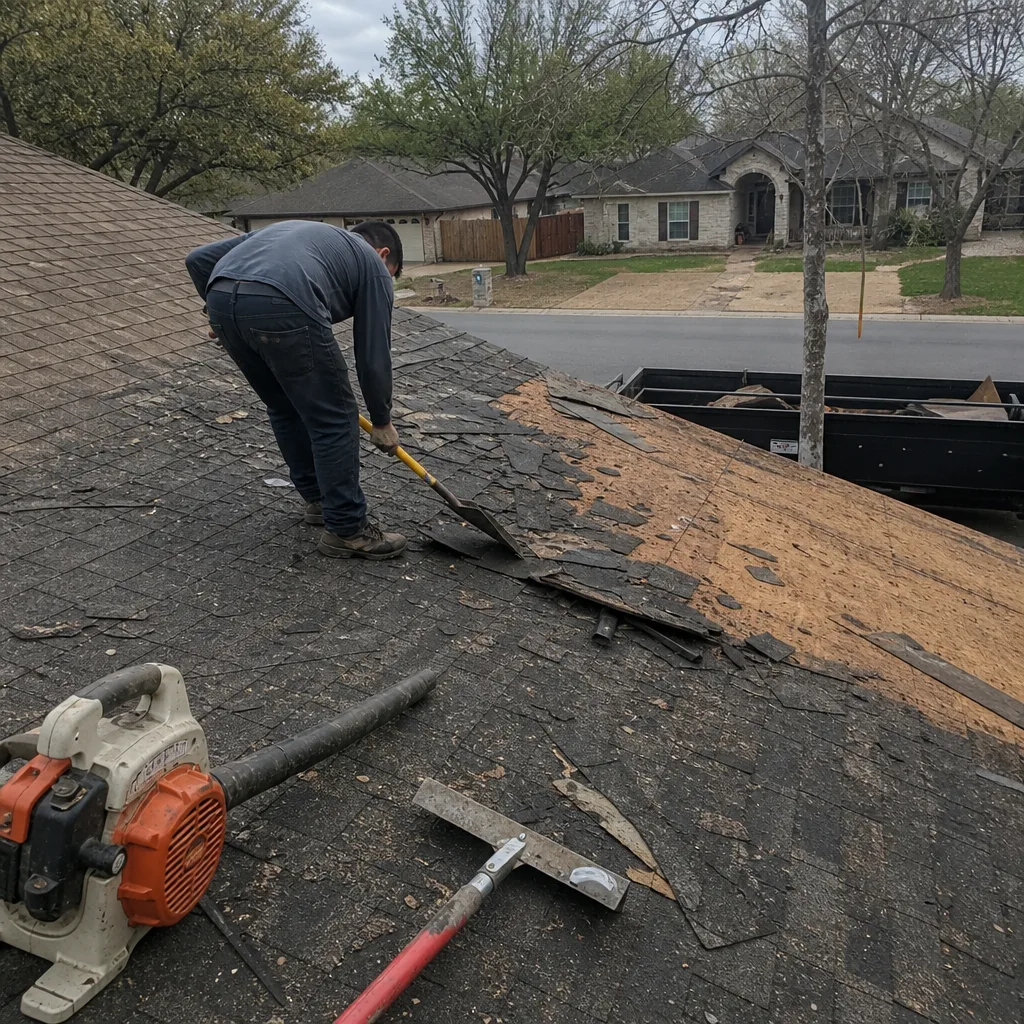 Before
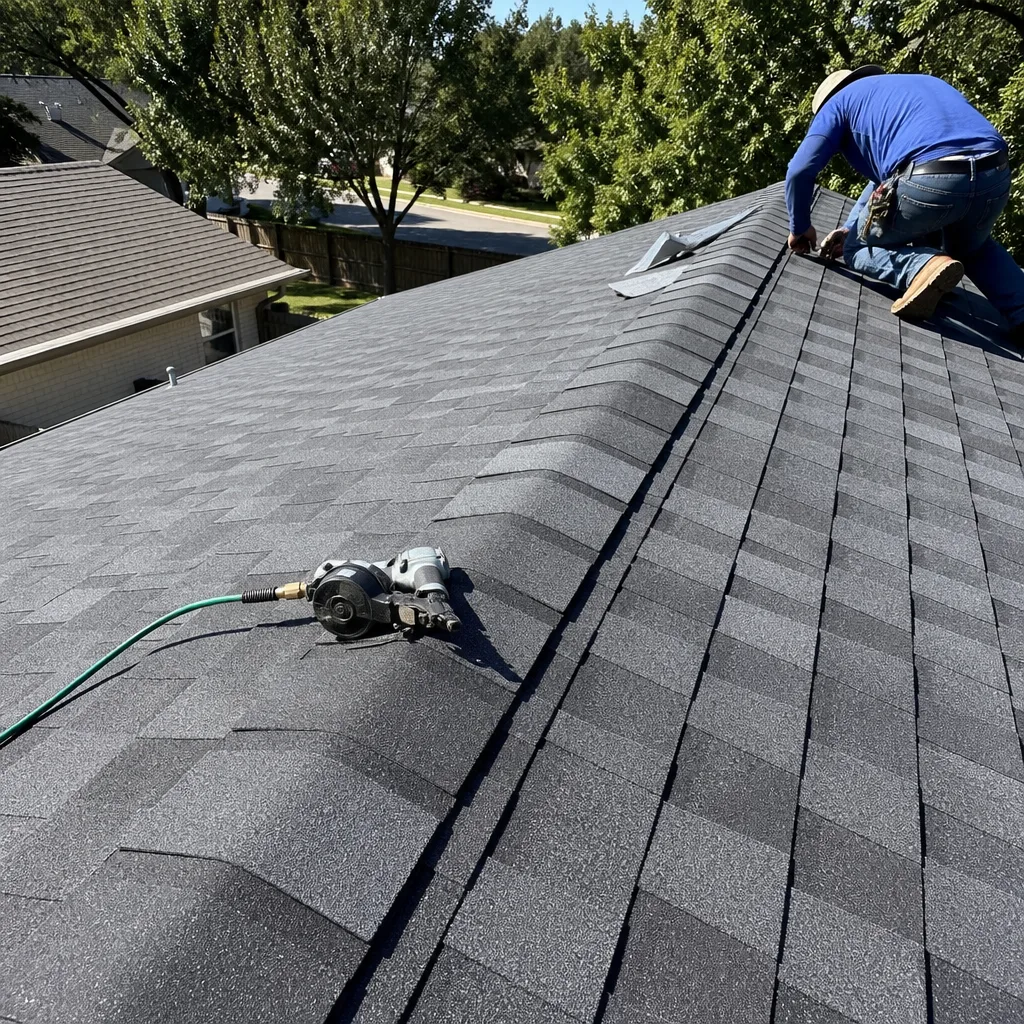 After
AfterWhen to Call a Professional
Call a roofer when you see daylight in the attic, water staining on insulation or rafters that’s new or growing after rain, a sagging ridge line, lifted or rust-streaked flashing, or accelerated granule buildup after summer heat. Call immediately if a stain is actively wet, because the water is still moving. Call before winter if you found any of these signs during a fall inspection, because Austin’s winter rain cycles will turn a small entry point into a completed leak. Tilehurst Roofing Austin offers free estimates in Austin, and every estimate starts with a written price before any work starts. Call (254) 540-7345 to schedule yours. A live person answers, day or night, and you’ll get an inspection window we honor.
Frequently Asked Questions
Most Austin roof repairs run between $250 and $900, depending on the scope. Flashing repairs and small shingle replacements sit at the lower end, while decking patches and valley rebuilds run higher. Structural corrections around a sagging ridge range from $1,800 to $4,500. Every Tilehurst Roofing repair starts with a written price before work begins, so you’ll know the exact number before anything gets touched. Call (254) 540-7345 for a free estimate.
A roof leak is weather-dependent and grows after rain, then dries. An HVAC condensation problem is weather-independent and often worst during dry summer heat, staining the ceiling directly below an attic air handler or along the condensate drain line. If the stain grows during a dry week with the AC running, it’s condensation, not the roof. If it grows only after storms, it’s roof water.
Start in the attic, not on the ladder. Turn off the attic light and look for daylight through the decking. Check insulation for staining, rafters for discoloration, and decking for softness. Outside, use your phone camera on an overcast day to photograph flashing at chimneys, sidewalls, and vent pipes, then enlarge the photos to check for lifted metal, rust streaking, and sealant cracks. No climbing required.
A sagging ridge line usually means a structural issue, not simple age. Common causes in Austin include undersized ridge boards, failed collar ties, decking rot at the ridge junction, or rafter ends that have pulled loose from wind uplift. A shingle replacement alone won’t fix it. The decking needs to come up at the ridge so the framing can be corrected, then recovered. Call (254) 540-7345 to have it inspected.
Yes. Every Tilehurst Roofing repair comes with a written guarantee delivered before the crew leaves, not mailed later. The guarantee documents the scope, the duration, and the remedy: if the repair fails inside the guarantee period, we return to correct it at no charge under the 365-Day Done Right Promise. That’s how the Kingswell family of roofing companies has operated since 2000.
You have genuine choice among seven major manufacturers: GAF, CertainTeed, Owens Corning, IKO, Atlas, Tamko, and Boral. Each has different performance profiles, color lines, and warranty structures. We’ll show you the options that fit your roof’s pitch, your neighborhood’s aesthetic, and your budget, with a written price for each before you decide.
The Bottom Line
The warning signs that matter in Austin show up inside first: daylight in the attic, stained insulation, discolored rafters, soft decking. The exterior signs, granule buildup, cupping, blistering, lifted flashing, confirm what the attic already knows. Misdiagnosing the source, roof versus HVAC versus vent boot, wastes money and months. And a sagging ridge is a structural issue that shingles alone won’t fix. The fix is always cheaper when you catch it early, and the guarantee is only worth anything if it’s written. Check your attic this week. If you find something that gives you pause, call (254) 540-7345. The estimate is free, the price is written before work starts, and the guarantee is in your hand before the crew leaves.
Written by Greg Holloway, Owner at Tilehurst Roofing Austin, serving Austin since 2000.